Configure your Paymattic forms to accept Bayarcash payments
Before proceeding with the setup, ensure you have:
1) A registered Bayarcash merchant account (Sign up if you haven’t)
2) Verified and activated payment methods in your Bayarcash portal
3) Access to your Paymattic’s payment settings
Installation Process
Follow these steps to integrate Bayarcash payments into your Fluent Forms:
- Download the Bayarcash plugin zip file from our website here.
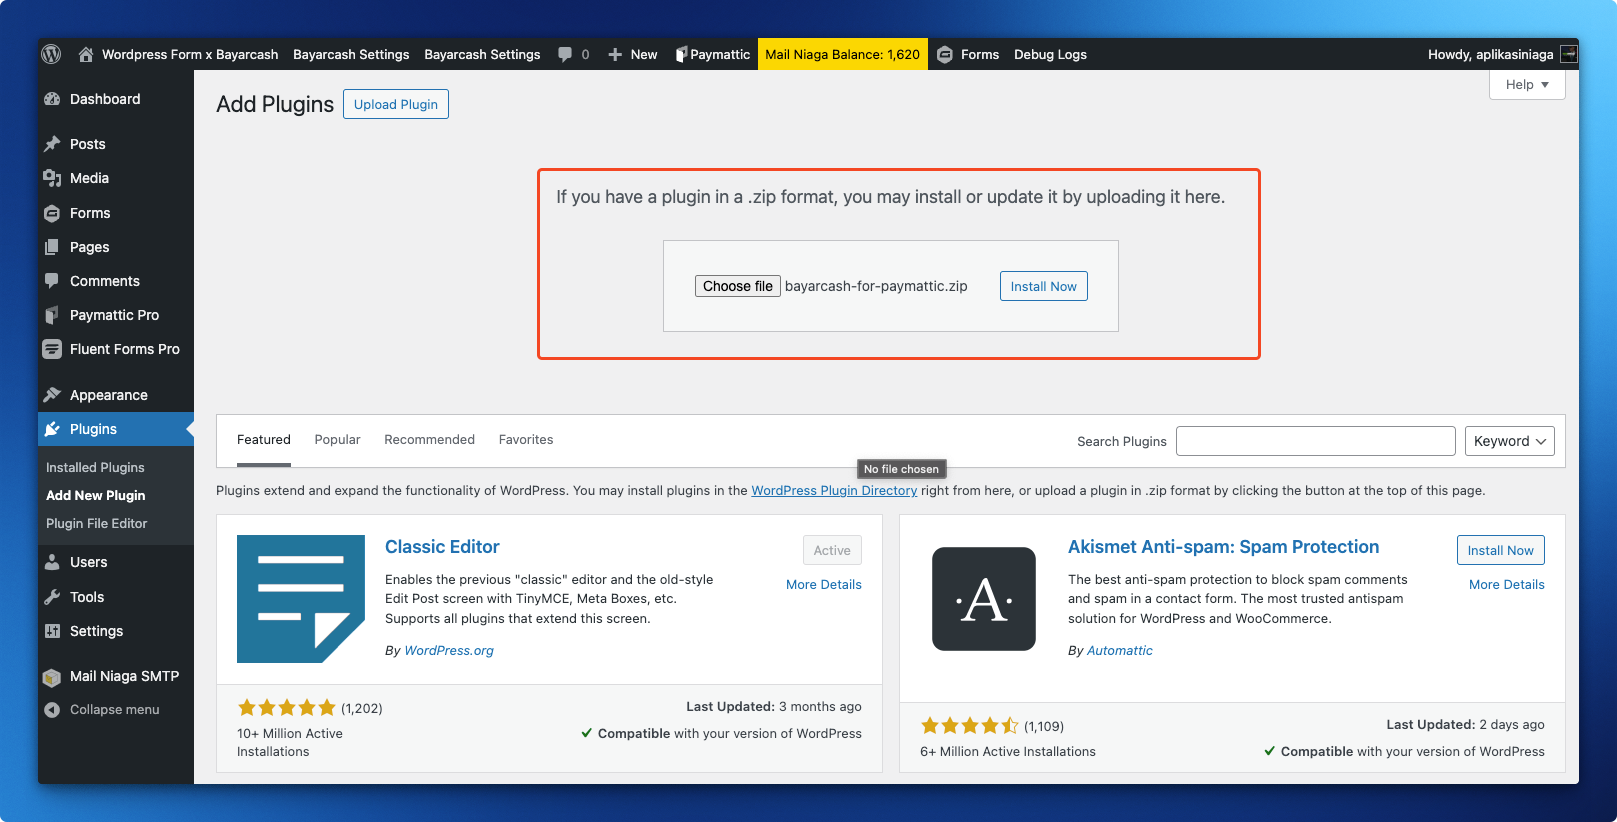
- In your WordPress admin panel, go to Plugins > Add New > Upload Plugin
- Upload the downloaded zip file and click Install Now
- After installation, click Activate Plugin
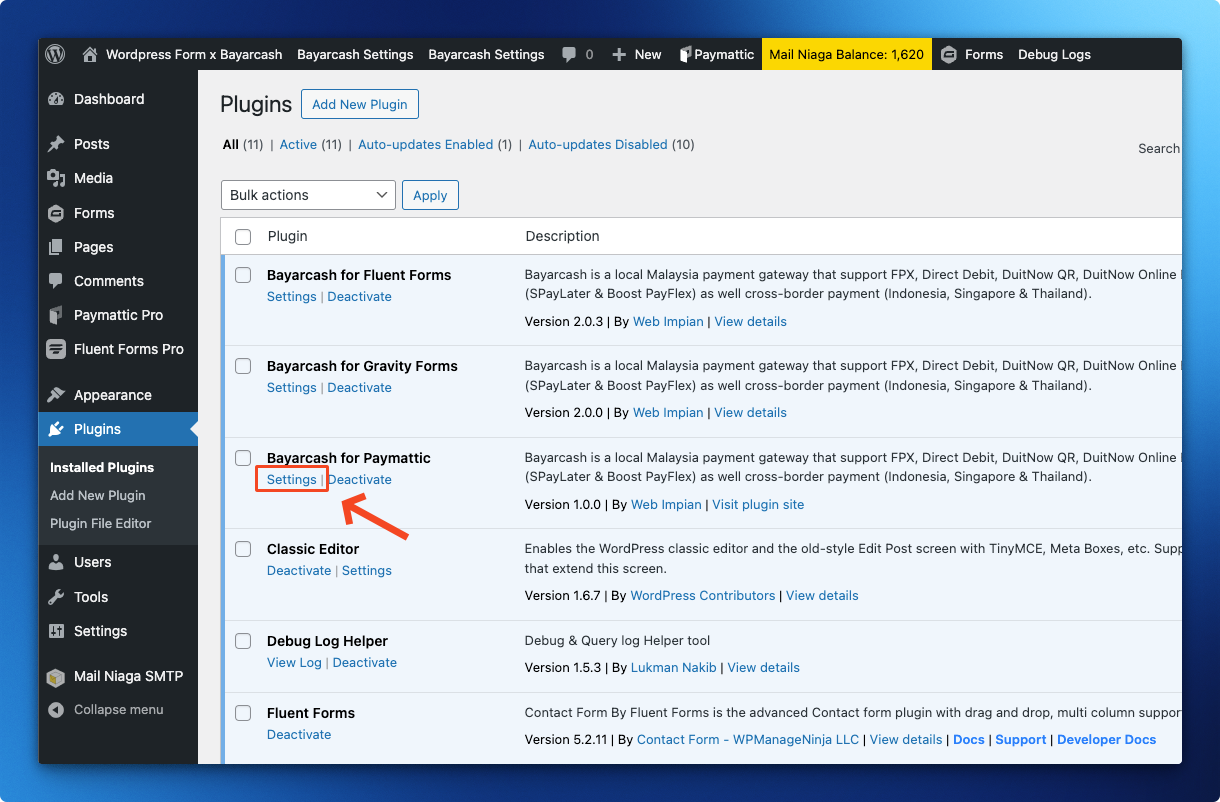
Payment Gateway Configuration
Next, navigate to the plugin’s Settings configuration.
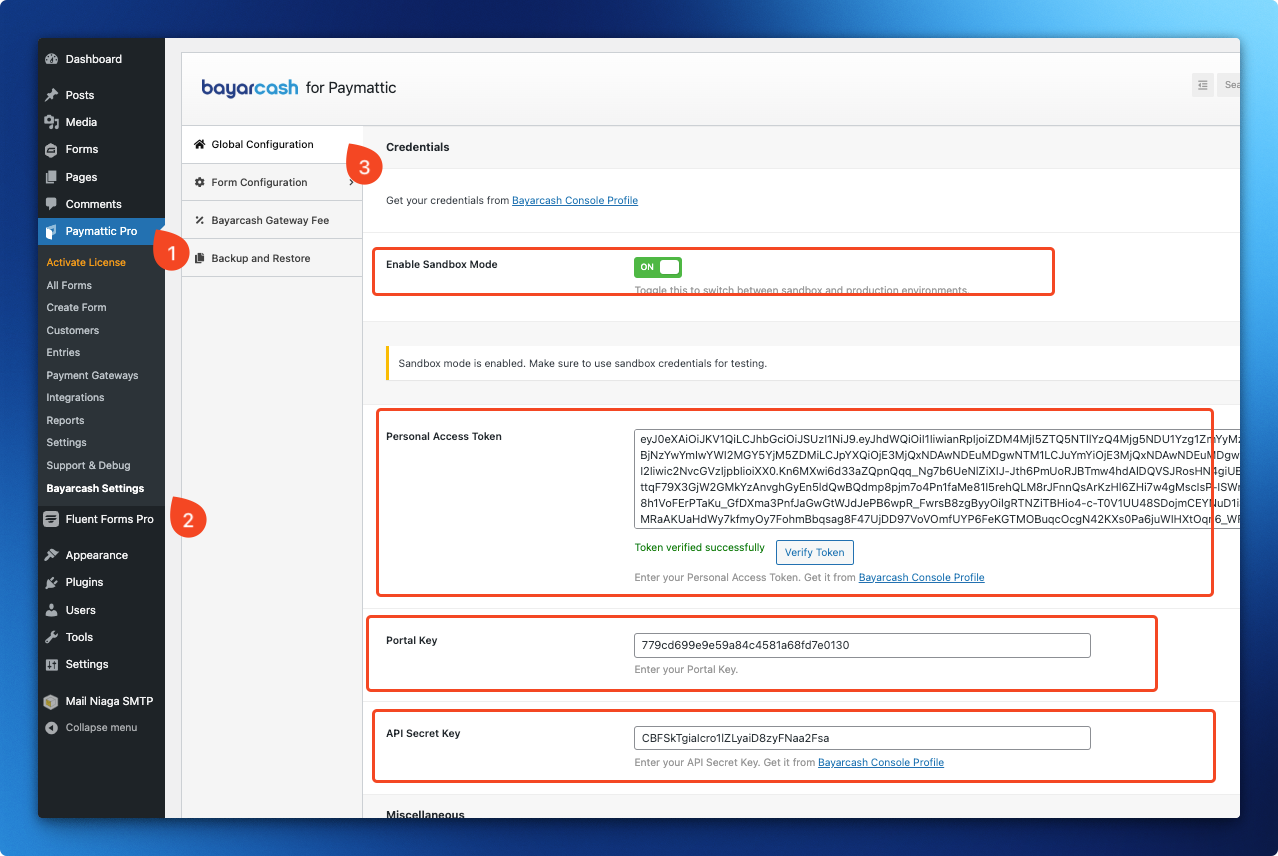
To ensure live transactions work correctly, disable “Sandbox Mode” and complete Bayarcash configuration for Paymattic.
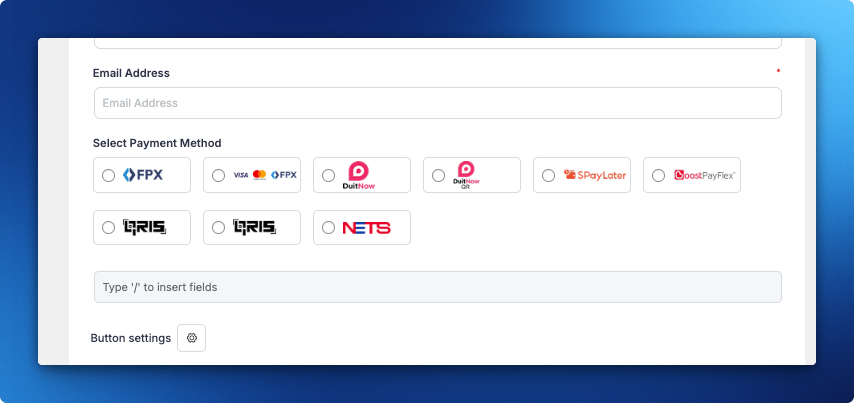
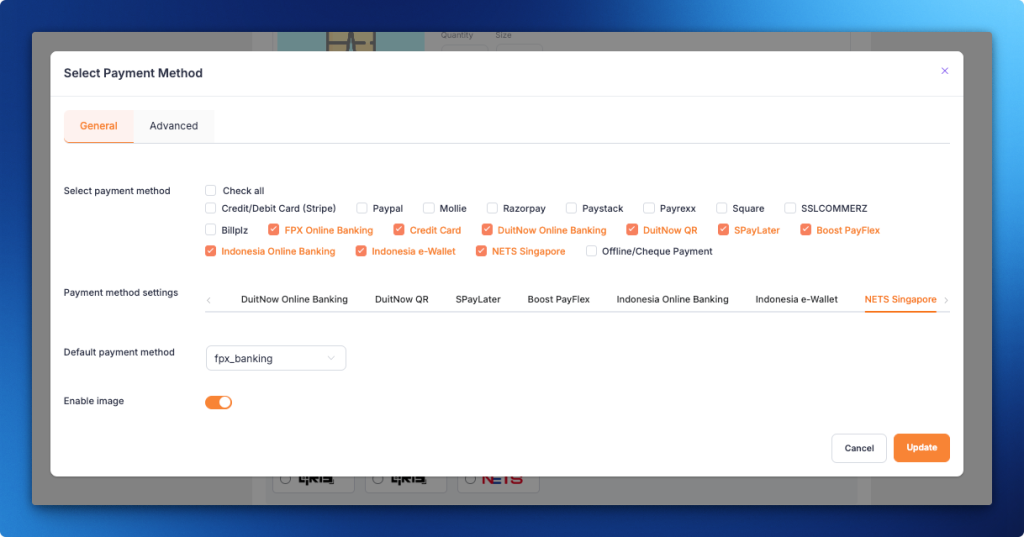
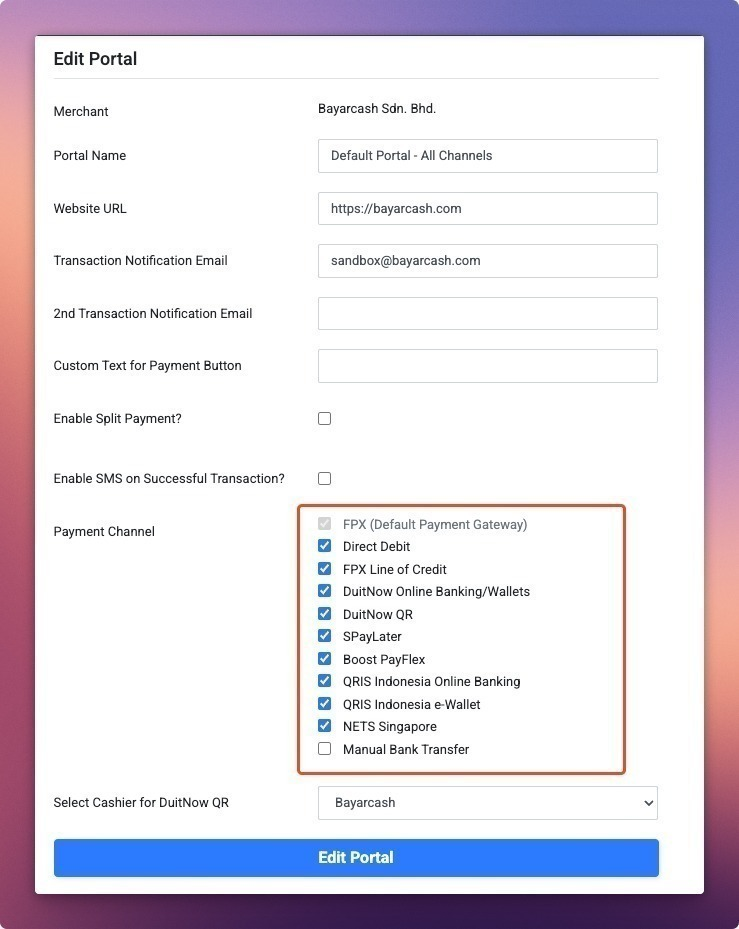
Access multiple payment options with Bayarcash’s channels:
You’ll need to enter your Personal Access Token (PAT) , Portal Key and API Secret Key from your Bayarcash Merchant Console.
*Use the ‘Verify Token’ button to confirm your credentials are correct.

Great job! Bayarcash is now fully integrated with your Paymattic ✨